Installing tile floors seems like a daunting task, one that’s way outside the abilities of a DIY homeowner. But you’d be surprised what a little planning and a methodical approach can do to make this task a whole lot simpler. Just take your time assembling the right tools, prepping the floor, and laying down the adhesive and tiles.
Despite the vast array of floor tiles, from ceramic to clay to natural stone, most can be adhered and installed over most types of subfloors, including existing tile, a mortar base, plywood subflooring, or cement board. If you read our article, “Subfloors and How They Impact Your Flooring Selection,” then you know how impactful the subfloor can be on the flooring you select to go over
If you plan to lay your new tile over already existing tile, you must securely attach the original tile and grout using a patching compound to fill in broken or missing tiles or spaces in the old grout. Before you begin tiling, scuff the old tile surface with sandpaper to give the new mortar a textured surface to which it can adhere. Following this process, wash the floor with a commercial-grade detergent to remove any dirt, soap residue, and other contaminants that might prevent proper adhesion.
The best subfloor material for tile is a mortar base because it creates a solid, level base, which results in an extremely durable finished floor. This is, however, a more difficult substance to work with and requires experience to properly mix and level it onto the floor.
Before applying mastic or installing your tiles, you’ll want to do a dry run of what the layout will look like to make any necessary adjustments before the real thing. You’ll want to start this process by dividing the room into quadrants. Doing this allows you to begin tiling from the center point and work your way outward, giving you the most even layout.
Start laying the tiles out along the lines you drew (you can use chalk to mark the lines) till the tiles reach the walls in each direction. Make sure to use plastic spacers between the tiles where you will later insert the grout. Our employees can recommend what size spacers to use for your tiles.
If the rows end with full tiles close to the wall, then congratulations! You get to avoid cutting the tile to make it fit into small spaces. If not, you’ll want to cut your tiles so that they’re no smaller than half the original size. This affects not only the appearance but also the adherence of the tiles; when they’re too small, they cannot adequately bond to the subfloor. Adjust the tiles at the center in order to allow you to use nothing smaller than a half-tile.
There are two tools best for cutting tiles: a manual snap cutter or a power wet saw. A snap cutter is good for smaller jobs and thinner tiles because it leaves a jagged edge along the break that will then need to be individually smoothed or dressed. A wet saw (which you can rent from stores like Home Depot or Lowe’s), makes perfectly smooth cuts in all types and sizes of tiles, no matter the thickness.
If you correctly calculated your layout, you can cut all the tiles for row ends and corners before you even start setting any of the tiles. Otherwise, you can cut and shape them as you go.
Using a notched trowel, spread the adhesive over the subfloor. The size of the trowel will depend on the size of the tiles you’re using. Starting at your layout lines, press the mastic against the floor to create a strong adhesive, then rake the trowel through the mastic to create ridges.
Work in about 3-4 square foot increments to keep the mastic from drying out as you cut and lay your tiles. Be sure to work in an area with adequate ventilation as mastic fumes can be toxic.
Starting at the center where your layout lines intersect, carefully set the tiles into the mastic and work toward the walls. Be sure to plan your installation so that you will not have to step on the tiles as you spread outward. We recommend having two people when tiling: one can concentrate on laying the mastic and bedding the tiles, while the other cuts the tiles, retrieves the necessary tools, and provides a constant supply of loose tiles.
Using a rubber mallet, gently but firmly tap each tile into the mastic. Avoid pressing or shifting the tiles within the mastic to keep it from squeezing up into the grout lines that you’ll leave between each tile. You’ll want to buy plenty of extra tiles so that if a tile cracks, you can remove the pieces and replace it with a new tile.
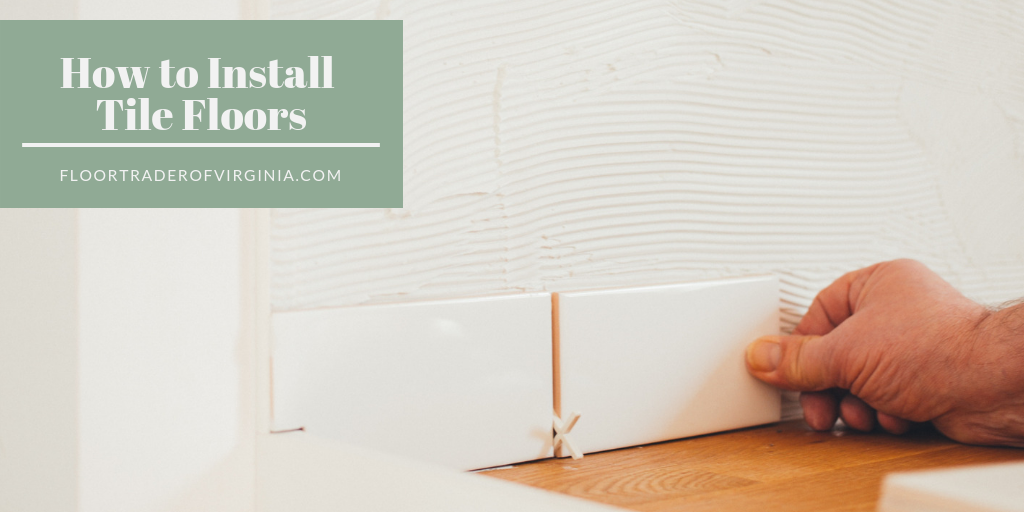
As you proceed, place plastic spacers between each tile. The mastic won’t stick to the spacers so that they can be easily removed when you’re ready to lay the grout in the joints.
Allow the mastic to set and dry for at least a day before you remove the spacers and add grout to the joints. Mix the grout in batches because it can dry within a half-hour window so you’ll want to mix as you work. Use a rubber float to squeeze the grout into the joints. You’ll want to make sure that the grout completely fills the spaces between the tiles and clean any excess grout off the face of the tiles with a coarse cloth or damp sponge as you work. Be careful not to wet the grout, as this can weaken it.
When it comes to grout, there is a pretty wide range of colors to choose from whether you want to match your tiles or create a contrasting look. We recommend applying a sealer on the tile surfaces before you start grouting because grout can stain or stick to unsealed tiles and be very difficult to remove.
Hiring a professional tile installer can cost you upwards of $3,000 just for the labor, in addition to the price of the tile. By following these simple steps (and a quick trip to your local Floor Trader), you can easily lay your new flooring and save on costs.