Tile is a popular choice for bathroom renovations and for good reason: it comes with a variety of benefits from the ease of cleaning to its water resistance that ensures a longer lasting update.
But, these advantages only come when bathroom tile is installed correctly because otherwise, tiles may break or the grout separating the tiles may begin to erode over time. Whether you are looking to replace your old tile with new material or are giving your bathroom a makeover, this bathroom tile installation guide can help you to improve both the functionality and style of your space.
One of the greatest benefits of tile is that it offers versatility, allowing it to be used in a variety of projects in one single room. Let’s start with:
The floor may be the most obvious spot to add tile to your bathroom because of its functional benefits. We highly recommend, however, choosing a slip-resistant tile to avoid accidents.
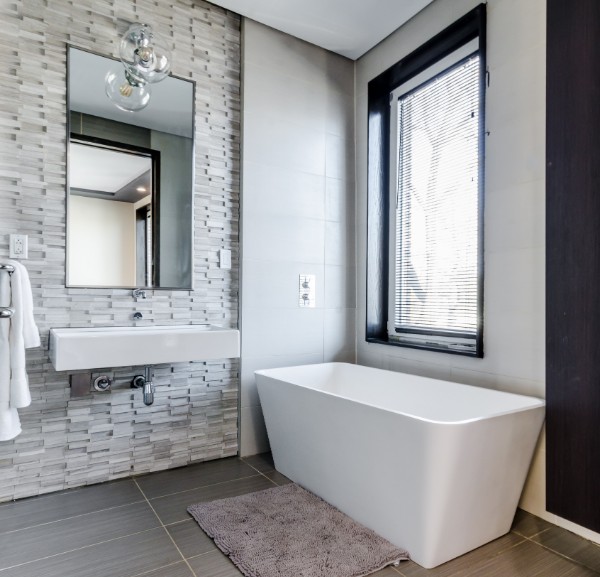
Another popular choice is applying tile to the walls of your shower because it will protect the actual walls from water exposure. It reinforces the pattern and style of that tile on your floor giving a more uniform look and bringing the advantage of easy cleaning and water resistance that we mentioned earlier.
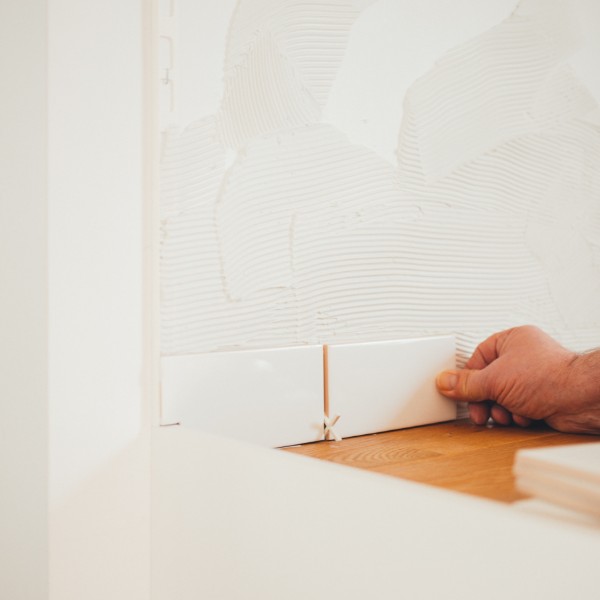
Tile is not limited to the floor and the wall of your shower, of course. Placing tile along the wall allows you to get creative with a variety of colors and designs. Maybe you want to add a backsplash to your vanity or create a statement wall with a mismatched color or pattern.

Upgrading your bathroom with tile is a DIY project that can be done in as little as one weekend and can save you money. Keep in mind, though, that you have to give the tile and grout ample time to dry before you can use the bathroom. The thinset will need time to cure and even after it seems dry, you should not expose it to water for another 24 hours. Be sure you have a plan in place that allows you to live in your home without needing that bathroom during the bathroom renovation process.
No matter how good your DIY tiling project goes, it won’t be successful if the grout work isn’t done right. You’ll want to find
We can absolutely help you with all these considerations when you come in to purchase your tile.
As we previously mentioned, it’s important to make a plan to ensure that you won’t need to use the bathroom in the time it takes for the tile to completely dry. But you should also make a plan around the tub, shower, vanity, plumbing, whatever have you that are on the bathroom floor.
With larger items, you’ll have to either move them out, if
You should always take into account that during the process, some tiles may crack or break and will require instant replacement before the thinset cures.
Pro Tip: buy 15% more
When replacing existing tile, you may find issues with the underlying drywall that need to be addressed. It’s better to take care of these problems as you discover them as it helps ensure the new surface lasts and isn’t damaged later.